
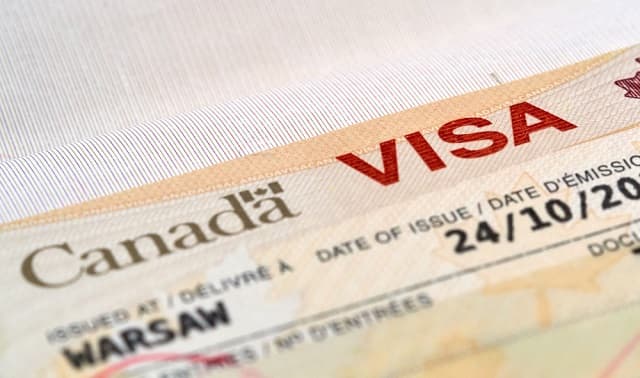
I am currently living in Canada on a 2 year IEC Working Holiday Visa from the U.K. and have a 12 month ‘extension’ from a successful application for an extra year. More on that extension in a later post! But let’s go back to the start of the process and map out my IEC Canada Visa journey.
Entering the IEC Visa Pool –
I went into the IEC pool in January 2023, applying for a Working Holiday Visa from the UK. The process of setting up a profile on the IEC website is simple enough. There is a helpful ‘Come to Canada’ questionnaire that allows you check your eligibility and gives you the most appropriate immigration route to take.
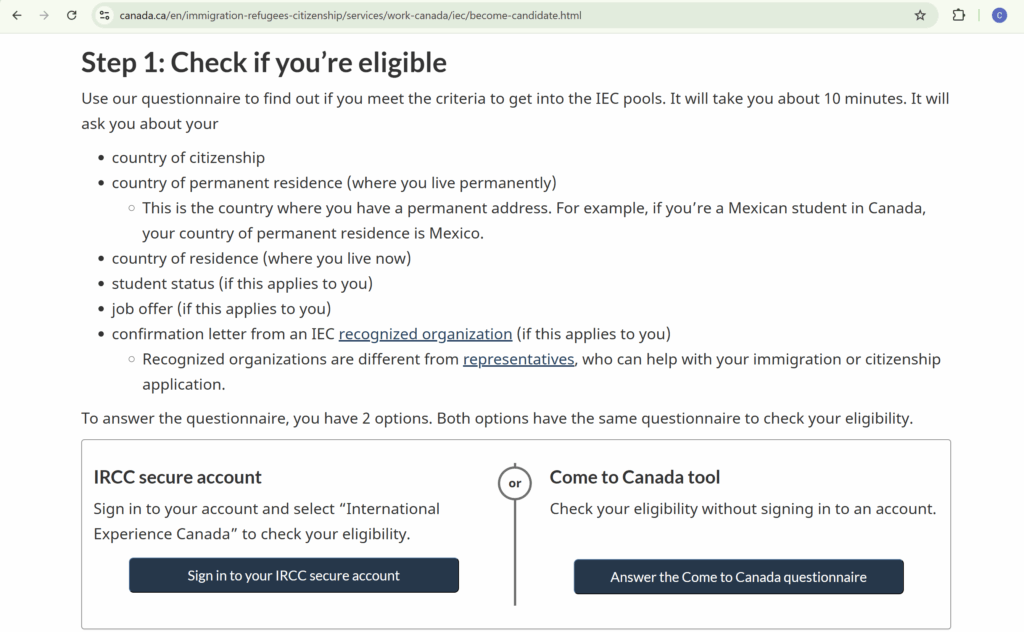
I opted for the ‘Working Holiday’ option for 18-35 year olds, giving 2 years of living in Canada with an open work permit that allows you to work any job(s) over the period. I entered the pool in January 2023, was then invited to apply in February. Prepare for at least a couple of months wait time – it really depends on demand.
Invitation to Apply to IEC –
Once you are invited to apply, you will receive an email that your account status has been updated. Log in to IRCC and you will find an invitation to apply letter. It is at this stage that you will need to upload documents. It is different for everyone but I needed:
- Copy of Passports
- Police Certificate
- Digital Headshot
- Proof of $2,500 CAD
- Health Insurance for the full 2-year period (see below for further information!)
You will then be asked to book an appointment to get bio-metrics taken – this will all be explained in a Bio-metrics Instruction Letter (BIL) you will receive. The process is simple and requires getting fingerprints taken in a quick 15 minute session – unfortunately I had to travel to London for mine as that was the closest centre.
Make sure to bring all your visa application documents to the appointment including the BIL. They can ask to see them, so better to be safe than sorry!
A Word of Warning – Passport Expiry
I had a small complication with my visa as when I applied, my passport only had 18 months until expiration. In this case, the visa end date is matched to this expiration and you don’t get the full 2 years. You the have to apply for the extra time once you have renewed your passport.
My advice would be to avoid this if possible. Get your passport renewed before you apply to any IEC visa. It’s an extra headache you don’t need (and Canada Post lost my passport when I sent it home to be renewed)! I ended up having to consult immigration lawyers because my application for the extra time was misread and rejected.
Preparing to Travel to Canada –
Congratulations – you have just received your Port of Entry (POE) acceptance letter and are ready to start your new life in Canada! You are nearly there.
In order to enter Canada and have your visa confirmed when you land, you need to show the following to an immigration officer on entry:
- Port of Entry Letter
- Passport
- Health Insurance
- Proof of funds – $2,500 CAD
A Note on IEC Health Insurance –
Don’t forget insurance, it’s easy to miss and it will be checked. You need to take out a policy that covers you from the date you land in Canada, right up until the day your visa expires. Credit Card insurances aren’t valid. This is a mistake I made, so make sure to get an IEC specific policy.
It should cost no more than $400 CAD per year. The provider I used is called Best Quote and they walk you through the process.
You do not need to bought insurance when you first apply – this would be difficult anyway as you don’t know your arrival date in Canada. Wait until you are accepted and have a flight booked, and then buy insurance.

And with that – you have done it! You can now relax and begin a new chapter in Canada!
If you have any questions on anything in this post, please do reach out. There were many times when I was confused and wished I had someone to ask. I’m more than happy to help. Hopefully your IEC Visa journey will be far smoother than mine!